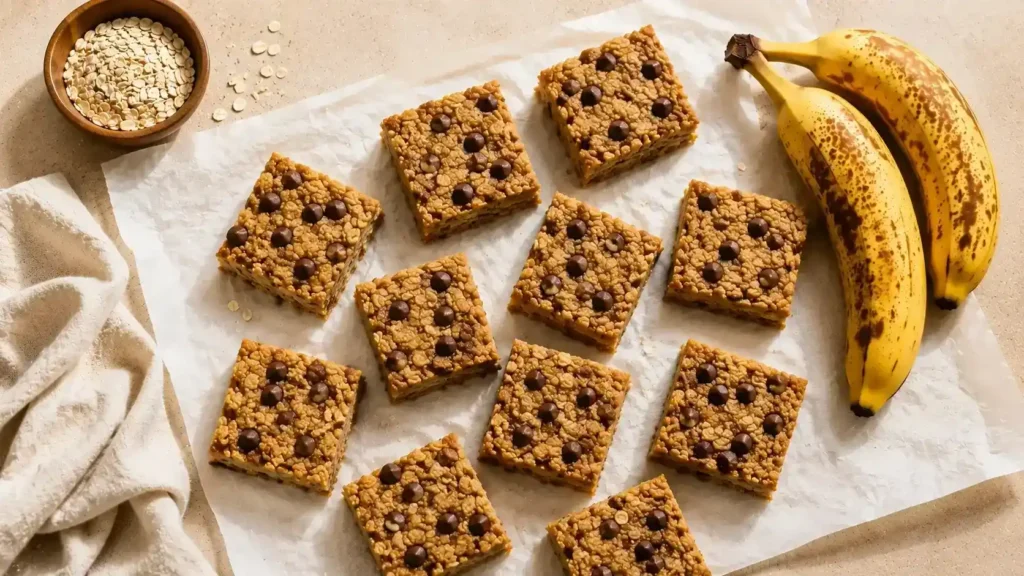
Okay, real talk — these banana oatmeal bars started as a total accident at my place. I had two very sad, very black bananas sitting on the counter, the kind that are past the point of eating but perfect for baking, and absolutely no desire to make a full banana bread loaf. It was a Tuesday morning, I had about twenty minutes, and I just started throwing things into a bowl. Oats, nut butter, a drizzle of maple syrup, a pinch of salt. Pressed it into a pan. Crossed my fingers. Honestly did not expect much.
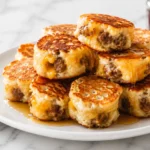
They came out of the oven smelling like warm caramel and toasted oats, golden around the edges, soft in the center. I ate two before they even finished cooling, which is a thing I keep telling myself not to do with bars. (Still haven’t stopped doing it.)
What I love most about this recipe — besides the taste — is how quietly useful it is. These bars work as a grab-and-go breakfast, an afternoon snack, or honestly a pre-workout bite that actually keeps you going. They’re chewy without being dense, lightly sweet without being sugary, and flexible enough to customize with whatever you have in the pantry. Let me walk you through exactly how I make them.
Why These Banana Oatmeal Bars Are Worth Your Counter Space
A lot of snack bars exist in this world. Most of them either taste like cardboard or are loaded with more sugar than a candy bar. These are neither. They sit somewhere really comfortable — satisfying enough to feel like a treat, simple enough to qualify as one of those genuinely healthy kid meal ideas that parents don’t have to feel weird about handing over.
The base is just oats and mashed banana. That’s it. Everything else you add is a bonus. Because oats are naturally high in soluble fiber and iron, these bars also land solidly in the category of snacks with iron — something worth noting if you’re looking for foods that actually work harder for your body. And since they’re made without refined flour or eggs, they come together in one bowl, no mixer needed, no fuss.
Another thing: these bars genuinely keep you full. Oats slow digestion in a way that white flour just doesn’t, so you’re not hunting through the kitchen again twenty minutes later. That makes them a solid choice for meals to keep you full — especially on mornings when you need something real before a long day.
Every Ingredient and Why It Belongs Here
Here’s what goes into the bars, and I’m going to be honest about each one because the details matter.
Ripe bananas (2 large): The riper, the better. Those brown-spotted, slightly squishy ones you keep meaning to throw away — those are your ingredient. They mash smoothly and bring a natural sweetness that means you need very little added sugar. This is one of my favorite recipes with two bananas precisely because it uses them up completely and gives you something worth eating.
Rolled oats (2 cups): Old-fashioned rolled oats only. Not instant, not steel-cut. Instant oats turn mushy and steel-cut won’t soften enough in the baking time. Rolled oats give the bars that chewy, slightly hearty bite that makes them feel substantial rather than delicate.
Nut butter (¼ cup): Almond butter is my go-to, but peanut butter works beautifully and gives a more classic flavor. Cashew butter is fantastic if you want something milder. The nut butter binds everything together and adds richness, so don’t skip it or reduce it.
Maple syrup (2–3 tablespoons): Real maple syrup, please. Not pancake syrup. They’re genuinely not the same thing — pancake syrup is corn syrup with flavoring, and you’ll taste the difference. The maple adds a warm, slightly caramel depth that complements the banana perfectly.
Ground cinnamon (1 teaspoon): Cinnamon and banana are one of those combinations that just makes sense. It adds warmth without heat, and it makes your kitchen smell incredible while these bake.
Vanilla extract (1 teaspoon): Real vanilla, not imitation. A small difference that shows up in the flavor.
Pinch of salt: Do not skip this. Salt balances the sweetness and makes everything taste more like itself. Baking without salt almost always falls flat.
Chocolate chips (⅓ cup): Optional in theory, mandatory in practice. Mini chocolate chips distribute more evenly and melt into little pockets throughout the bar. Go with dark chocolate if you want something less sweet.
How to Make Banana Oatmeal Bars, Step by Step
Preheat your oven to 350°F. Line an 8×8 or 9×9 inch baking pan with parchment paper — let the paper hang over the sides so you can lift the whole slab out cleanly once it’s cooled. This step alone will save you so much frustration later.
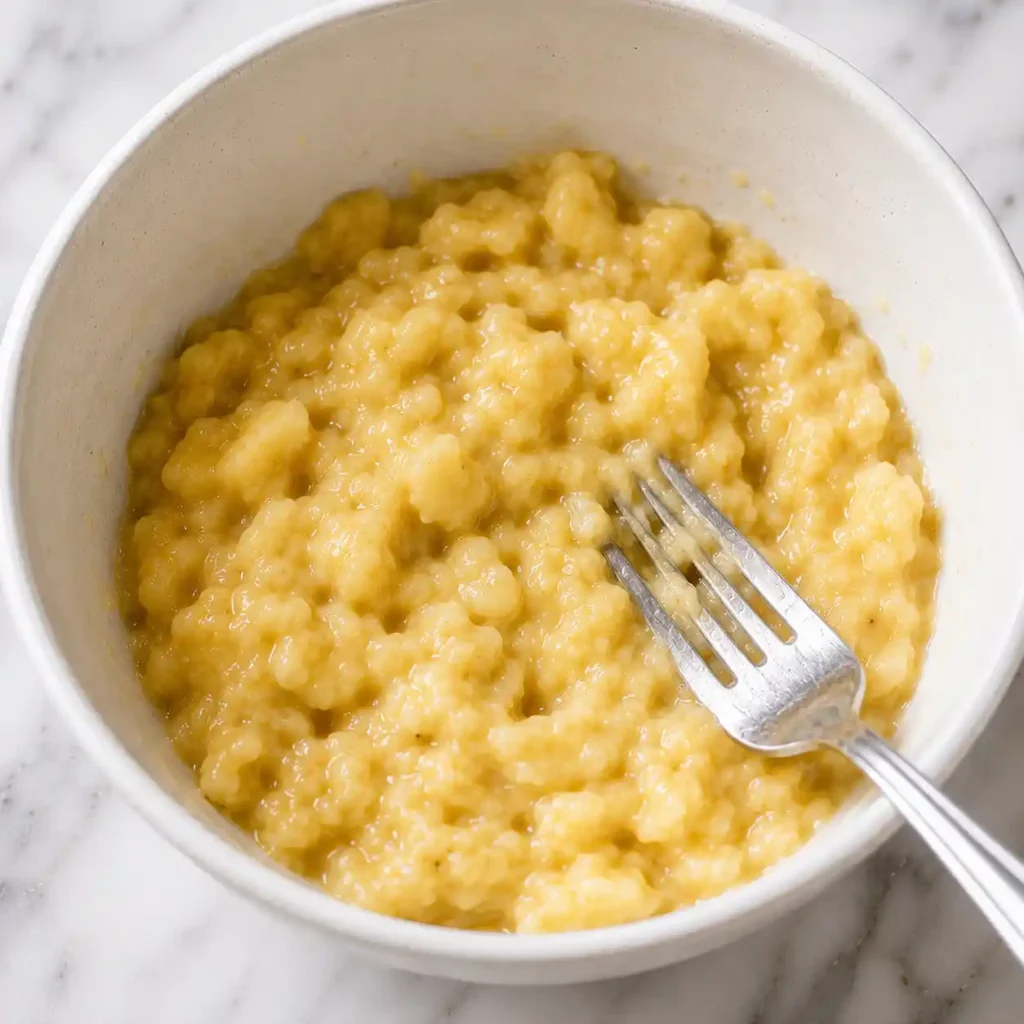
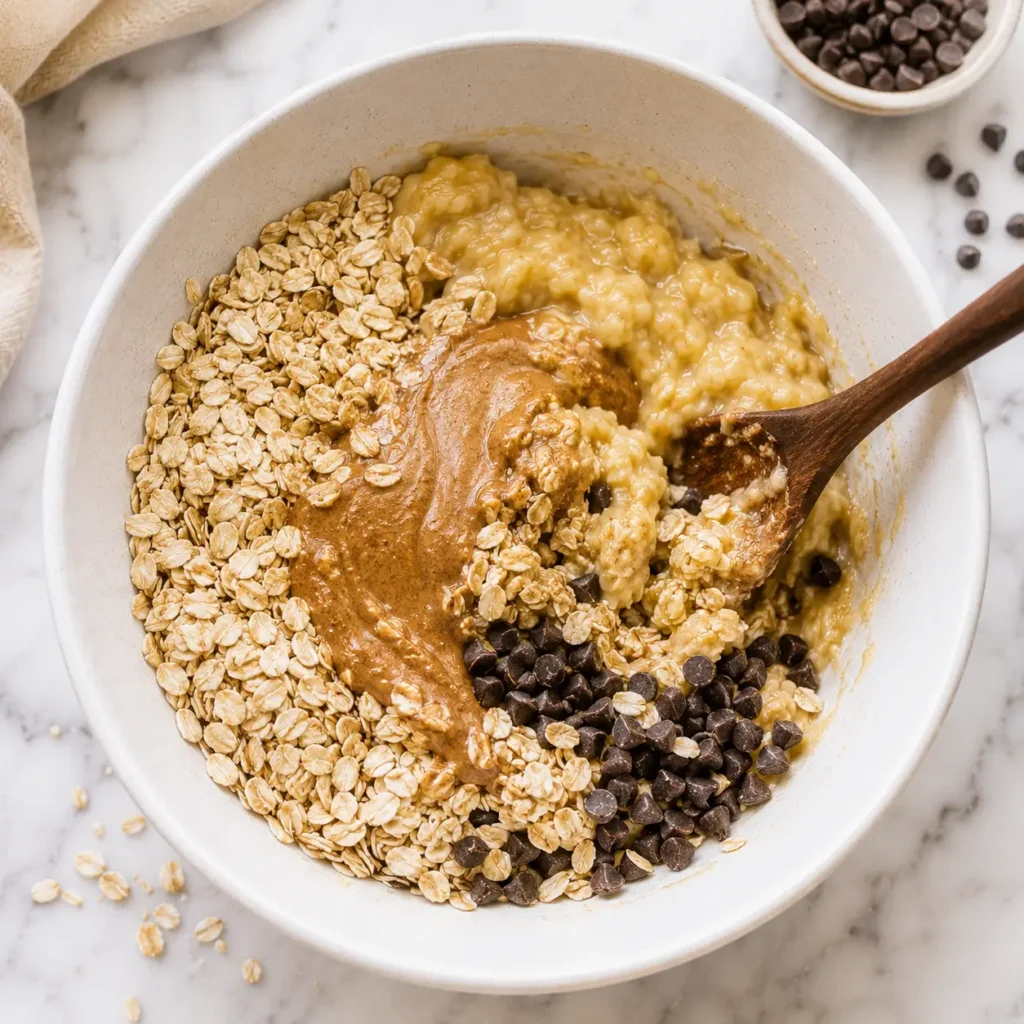
In a large bowl, mash your ripe bananas with a fork until they’re smooth and creamy. A few lumps are totally fine — it’s not a science experiment. Add the nut butter, maple syrup, vanilla, and cinnamon and stir everything together until it forms a thick, fragrant mixture.
Add the rolled oats and salt, then stir again until the oats are fully coated. The mixture will look thick and a little sticky — that’s right. Fold in the chocolate chips last so they don’t get crushed during mixing.
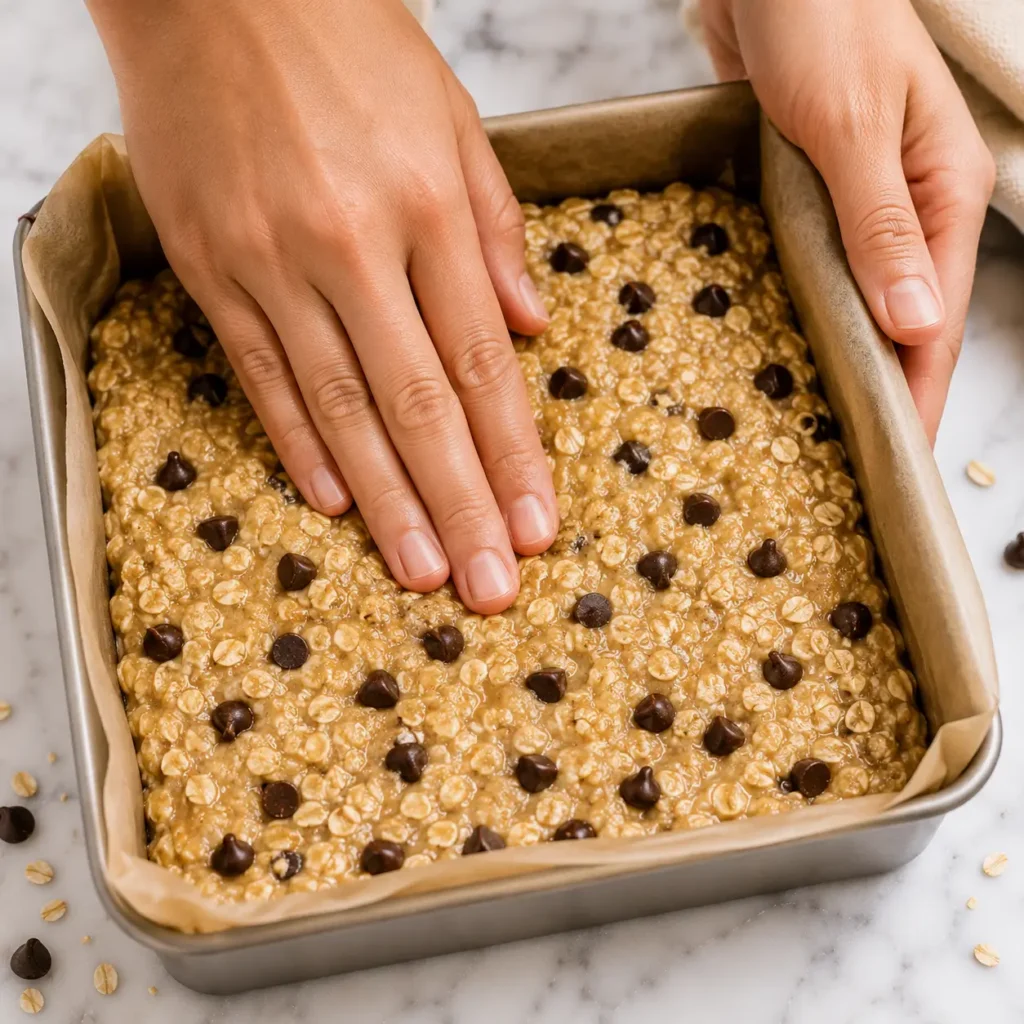
Scrape the mixture into your prepared pan and use the back of a spoon or slightly damp fingers to press it into an even, flat layer. Scatter a few extra chocolate chips on top if you want them to look particularly inviting.
Bake for 20 to 23 minutes, until the edges are set and lightly golden and the top looks dry rather than shiny. The center might still feel slightly soft when you press it — that’s normal. It will firm up as it cools.
Now here’s the important part: let them cool completely before cutting. I know. It’s hard. But if you try to slice them warm, they’ll crumble apart. Give them at least 30 minutes at room temperature, or slide the whole pan into the fridge for 15 minutes if you’re impatient like me.
The Mistakes I Made So You Don’t Have To
I want to tell you about the first time I tried to rush these. The bars looked set — the edges were golden, the top was firm — so I lifted the parchment out of the pan about ten minutes after they came out of the oven. They folded in half and landed on my counter in a sad, crumbled heap. Very appetizing. Still tasted good, though, so I ate them with a spoon and called it “oat crumble.”
Lesson one: wait for full cooling. It’s not optional. The oats need that time to bind together as they cool. An hour at room temperature is ideal; the fridge shortcut works in a pinch.
Lesson two: your bananas really do need to be overripe. I tried this once with two perfectly yellow bananas because I was impatient and out of the spotty ones. The bars came out noticeably less sweet, the banana flavor was almost absent, and the texture was a bit dry. Overripe bananas have more sugar and more moisture — both things this recipe depends on.
Lesson three: press the mixture firmly and evenly into the pan. If one edge is thicker than the center, you’ll get uneven baking — one side golden, one side underdone. Take twenty extra seconds to flatten it properly.
One more practical tip: if you’re making these as a homemade banana granola bar style snack for the week, cut them into individual bars right after they fully cool and store them in a single layer. Stacking them before they’re fully set can make them stick together, and then you’re prying them apart and eating the crumbs standing at the counter. (Again, still delicious. Just not ideal.)
Mix-Ins, Swaps, and Variations Worth Trying
The base recipe is genuinely solid on its own, but this is also one of those recipes using bananas healthy that’s practically begging to be customized. Here are some directions I’ve taken it:
Add chopped walnuts or pecans for crunch and a little extra protein. About ¼ cup stirred into the batter gives every bite some texture contrast. Walnuts also happen to be a good source of plant-based omega-3s, which makes these bars feel even more intentional as a snack.
Swap in dried fruit instead of chocolate chips — raisins, dried cranberries, or chopped dates all work well. Dates especially give the bars a deeper, almost toffee-like sweetness.
Try sunflower seed butter instead of almond or peanut butter to make these completely nut-free. That makes them a genuinely great option for school-safe healthy kid meal ideas without the allergen concerns.
Stir in a tablespoon of chia seeds or hemp hearts — you won’t taste them, but they bump up the nutritional profile quietly. I do this almost every time now. It’s one of those “why not” additions that costs nothing in flavor.
If you’re making these as easy snacks for pregnancy, the iron from the oats combined with vitamin C-rich fruit on the side makes for a genuinely functional snack. Worth mentioning because I’ve had a few readers reach out about exactly that.
How to Store, Freeze, and Serve These Bars
At room temperature, these bars keep well for about two days in an airtight container. After that, pop them into the fridge — they’ll stay fresh for up to a week and actually taste great cold, with a firmer, almost fudgy texture.
For freezing: wrap individual bars in plastic wrap, then place them in a freezer-safe bag or container. They freeze beautifully for up to three months. Thaw overnight in the fridge or let them sit at room temperature for about 20 minutes. This is hands-down the most useful thing about this recipe — you can batch-make a double portion on a Sunday and have grab-and-go snacks for weeks.
Serving ideas? Warm one up for 15 seconds in the microwave and eat it with a spoon of yogurt on the side. Crumble one over a bowl of oatmeal. Pack two into a container for a lunchbox. Honestly, they’re good enough to eat straight from the fridge with one hand while you’re checking your phone with the other. No shame in that.
Frequently Asked Questions About Banana Oatmeal Bars
Can I make these banana oatmeal bars without nut butter?
You can, but you’ll need to replace the binding it provides. Try tahini, sunflower seed butter, or even a couple of tablespoons of coconut oil. The texture will shift slightly — a little less rich — but the bars will still hold together well after cooling.
Are these bars gluten-free?
Oats are naturally gluten-free, but most oats are processed in facilities that handle wheat. If you need these to be strictly gluten-free, buy oats that are specifically labeled certified gluten-free. Everything else in the recipe is naturally free of gluten.
Can I use instant oats instead of rolled oats?
Technically yes, but the texture will be noticeably softer and less chewy — more like a soft cake bar than a firm snack bar. Rolled oats give a better result here. Steel-cut oats are not a good swap; they won’t soften enough in the baking time and the bars will feel gritty.
How ripe should the bananas be?
Very ripe — we’re talking brown-spotted or fully black on the outside. The riper the banana, the sweeter and more flavorful the bars. Under-ripe bananas don’t mash as smoothly and don’t bring enough natural sugar, which means the bars taste flat and dry.
Can I double this recipe?
Absolutely. Use a 9×13 baking pan and add 3 to 5 extra minutes to the baking time. Check for doneness by looking at the edges — they should be golden and the center should look set, not shiny. Doubling is a great move if you’re batch-cooking snacks for the week, since these freeze so well.
Are these good snacks during pregnancy?
They’re a solid choice. Oats provide iron and complex carbohydrates, bananas bring potassium, and nut butter adds healthy fat and protein — all things that support a healthy pregnancy diet. They’re also easy on the stomach, which matters when certain foods become complicated. That said, check with your care provider about specific dietary needs; this is a great snack but not a substitute for medical advice.
Why did my bars crumble when I cut them?
Almost certainly one of two things: they weren’t cool enough yet, or the mixture was too dry going into the pan. Make sure your bananas were genuinely ripe (they bring a lot of the moisture), and always wait until the bars are fully cooled before slicing. If you live somewhere very dry, you can add an extra tablespoon of nut butter to the batter next time.
These bars have genuinely become one of those things I keep on permanent rotation. They solve the “what do I grab on the way out the door” problem without requiring much thought, they’re flexible enough to never get boring, and they make the whole kitchen smell amazing while they bake. Really hard to argue with any of that.
So tell me — are you a chocolate chip purist, or are you the type to throw in a little of everything? I’d love to know what mix-ins you’re planning to try in yours!
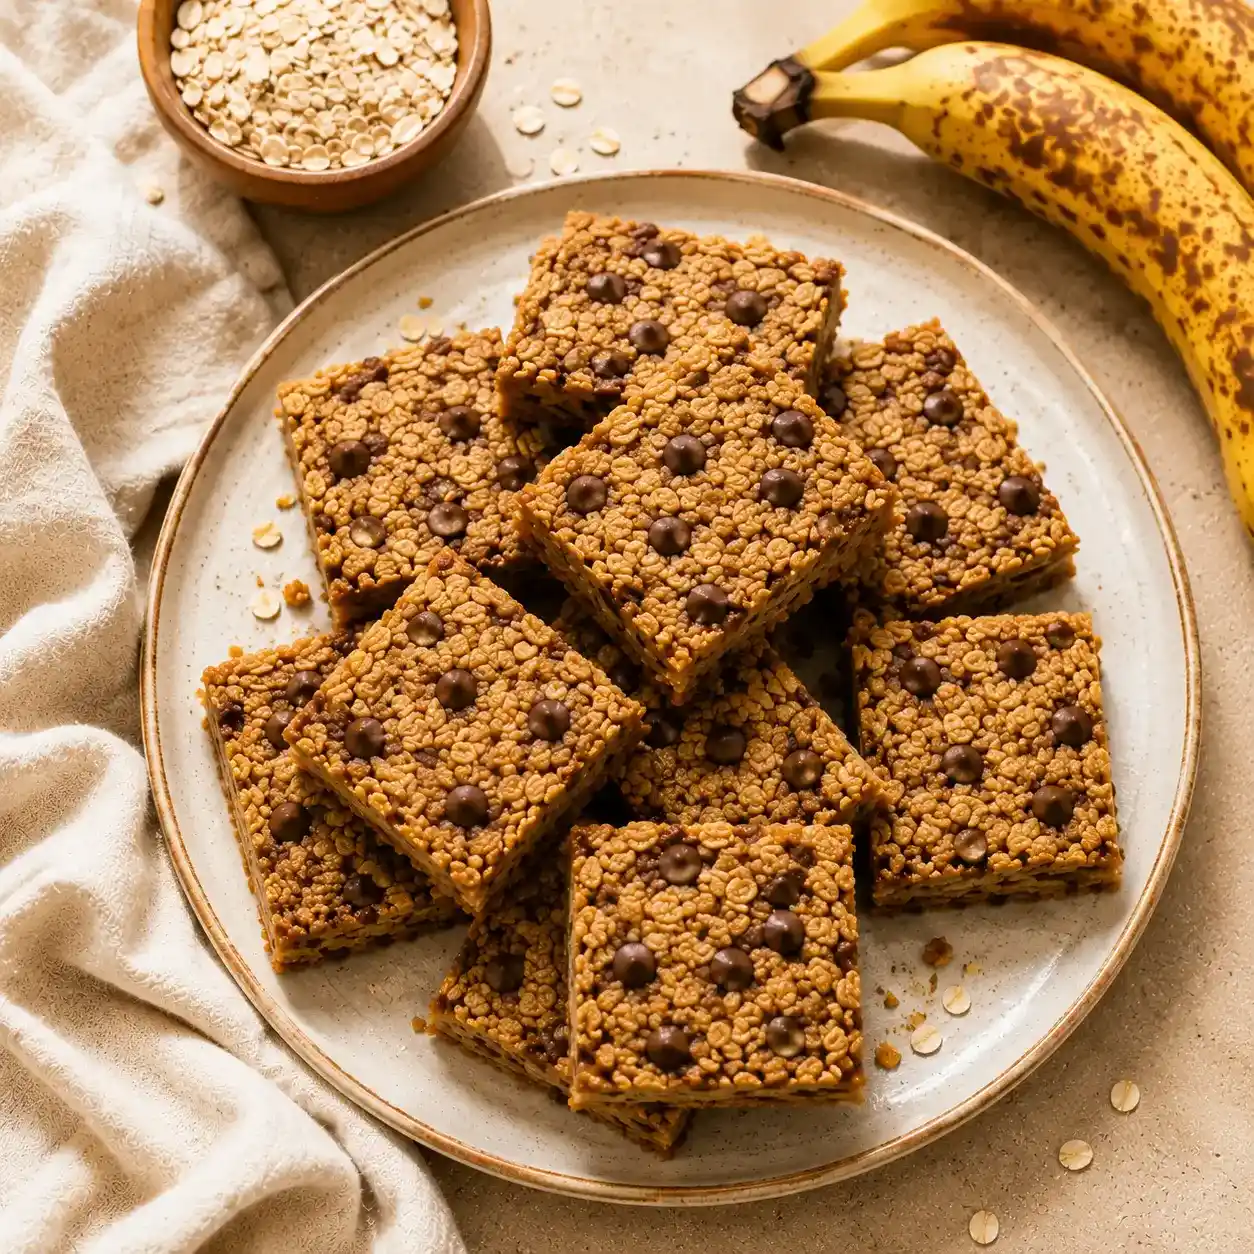
Banana Oatmeal Bars
Ingredients
Equipment
Method
- Preheat your oven to 350°F. Line an 8×8 or 9×9 inch baking pan with parchment paper, leaving some overhang on the sides so the bars can be lifted out cleanly after cooling.
- In a large bowl, mash the ripe bananas with a fork until mostly smooth and creamy. A few small lumps are fine.
- Add the nut butter, maple syrup, vanilla extract, and cinnamon to the mashed bananas. Stir until the mixture is thick, fragrant, and well combined.
- Add the rolled oats and salt, then stir until the oats are fully coated and the mixture looks thick and slightly sticky.
- Fold in the chocolate chips last so they stay evenly distributed and do not get crushed during mixing.
- Scrape the mixture into the prepared pan. Use the back of a spoon or slightly damp fingers to press it firmly into an even, flat layer. Add a few extra chocolate chips on top if desired.
- Bake for 20 to 23 minutes, until the edges are set and lightly golden and the top looks dry rather than shiny. The center may still feel slightly soft, but it will firm up as it cools.
- Let the bars cool completely before cutting. Cool for at least 30 minutes at room temperature, or place the pan in the fridge for about 15 minutes to help them firm up faster.