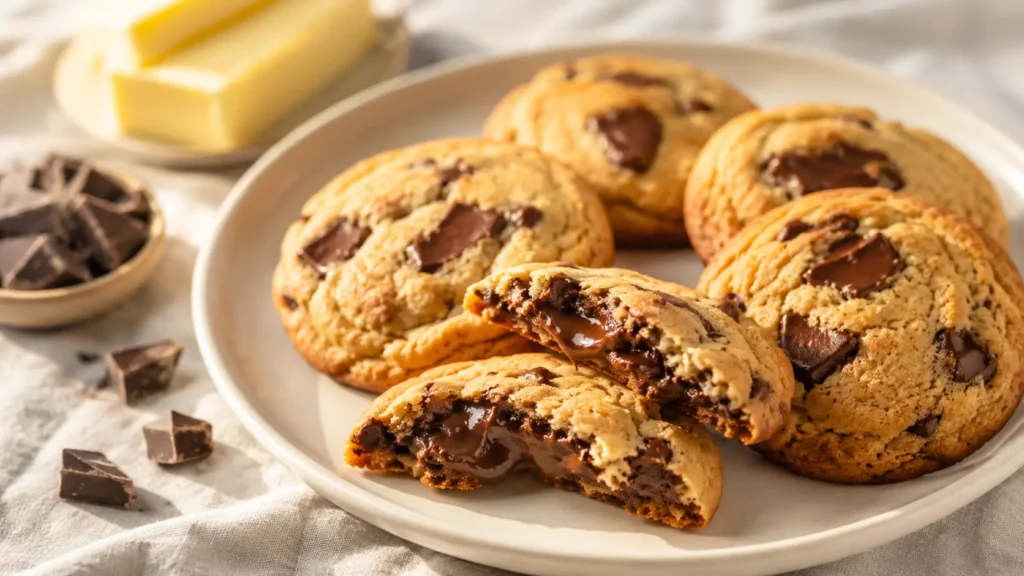
It was a Tuesday afternoon, and my neighbor Sarah dropped by with a plate of cookies that changed my entire approach to baking. They were these gorgeous golden brown rounds, still warm, and when I bit into one, the warm chocolate center literally melted on my tongue. I remember standing in my kitchen with chocolate on my fingers, eyes closed, just savoring that moment. That’s when I realized: chocolate-filled cookies weren’t just a treat—they were a game changer.
Here’s the thing, though. I spent weeks trying to recreate that magic, and I failed the first three times spectacularly. My chocolate either leaked out during baking, or it stayed so solid you practically needed teeth of steel to bite through it. Frustrating doesn’t even cover it. But those failures taught me exactly what separates a mediocre chocolate-filled cookie from one that makes people go “wow.”
Now, after years of perfecting the recipe and sharing it with countless readers at MealNimble, I’m confident that if you follow these instructions, you’ll nail it on your first try. You won’t need the trial-and-error journey I took.
What Makes Chocolate-Filled Cookies So Irresistible
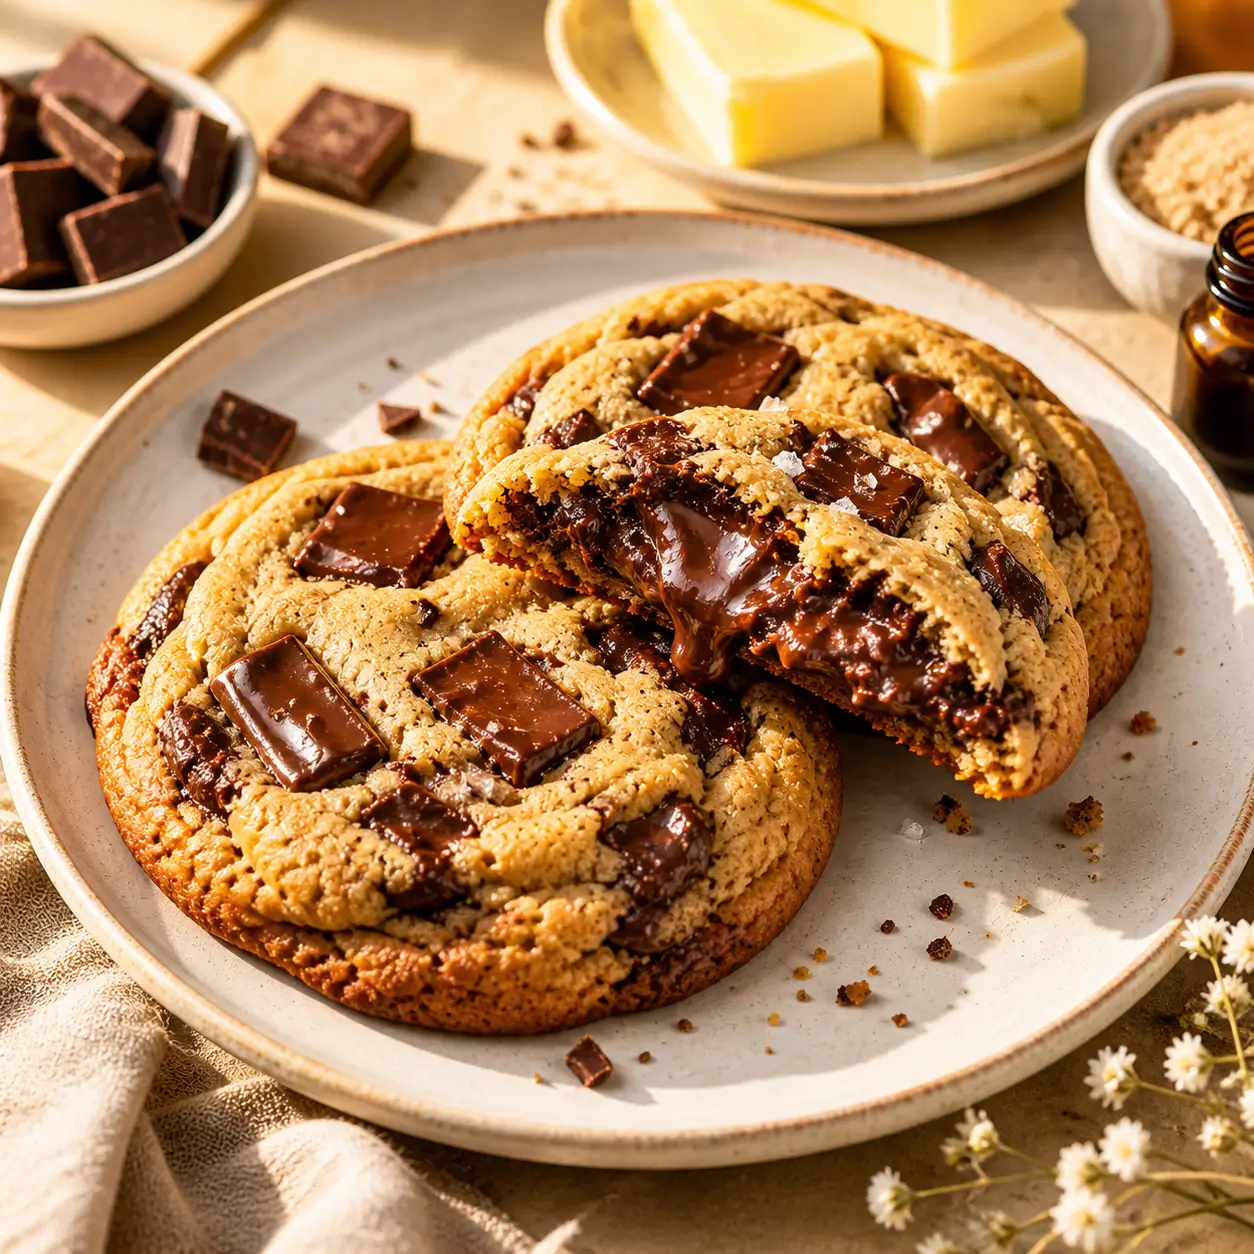
Chocolate-filled cookies are essentially a butter cookie with a surprise center. The magic happens when that cool chocolate filling meets a warm cookie, creating this perfect balance of textures. You get the soft, tender cookie base—almost like it dissolves on your tongue—and then BAM, that rich chocolate center oozes out.
What I love most is that they’re surprisingly versatile. Want to make ooey gooey desserts that feel fancy? These deliver. Looking for quick and easy treats to make at home that impress without the fuss? Perfect. Need something to bring to a gathering? People will literally ask you for the recipe.
The beauty of chocolate-filled cookies is that they work year-round. In summer, the contrast between a cold chocolate center and the crispy yet tender cookie is refreshing. In winter, that warm melted center feels like a hug. They’re honestly one of those things to bake that works for literally any mood or occasion.
Ingredients You’ll Need
For the Cookie Dough:
- 1 cup (225g) unsalted butter, softened
- 3/4 cup (150g) granulated sugar
- 1/4 cup (50g) brown sugar, packed
- 1 large egg
- 1 teaspoon vanilla extract
- 2 cups (240g) all-purpose flour
- 1/2 teaspoon baking powder
- 1/4 teaspoon salt
For the Chocolate Filling:
- 6 oz (170g) semi-sweet or dark chocolate, chopped into small chunks
- Optional: 1/2 teaspoon sea salt (if using dark chocolate)
That’s it. No weird ingredients, no substitutions that change the game. These are things to make with stuff most people have in their kitchen already.
Step-by-Step Instructions
Preparing Your Base Dough
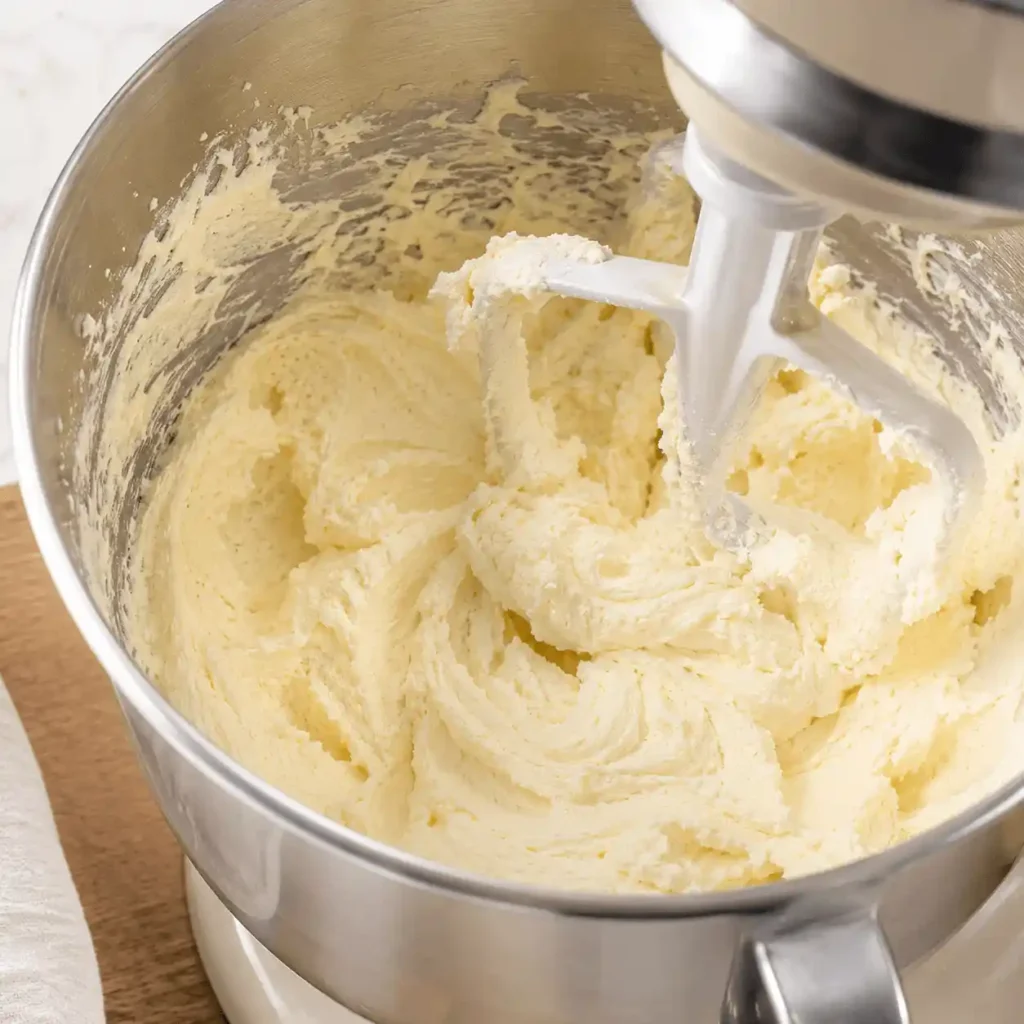
Start by creaming together your softened butter and both sugars. You want this to be light and fluffy, almost pale. This usually takes about 3 minutes with an electric mixer. During this time, the butter incorporates air, which makes these cookies tender rather than dense. Trust me—don’t skip this step or rush through it.
Add your egg and vanilla extract. Mix for another minute until everything is well combined. The mixture should look smooth and slightly glossy at this point.
In a separate bowl, whisk together your flour, baking powder, and salt. This ensures the leavening agent is evenly distributed throughout. Then fold this dry mixture into your wet ingredients. Mix until the dough just comes together—you don’t want to overwork it, or your cookies will turn out tough.
Shaping and Filling
Here’s where things get interesting. Divide your dough into 24 equal portions. A cookie scoop helps tremendously here, but you can also use a tablespoon measure if that’s what you have.
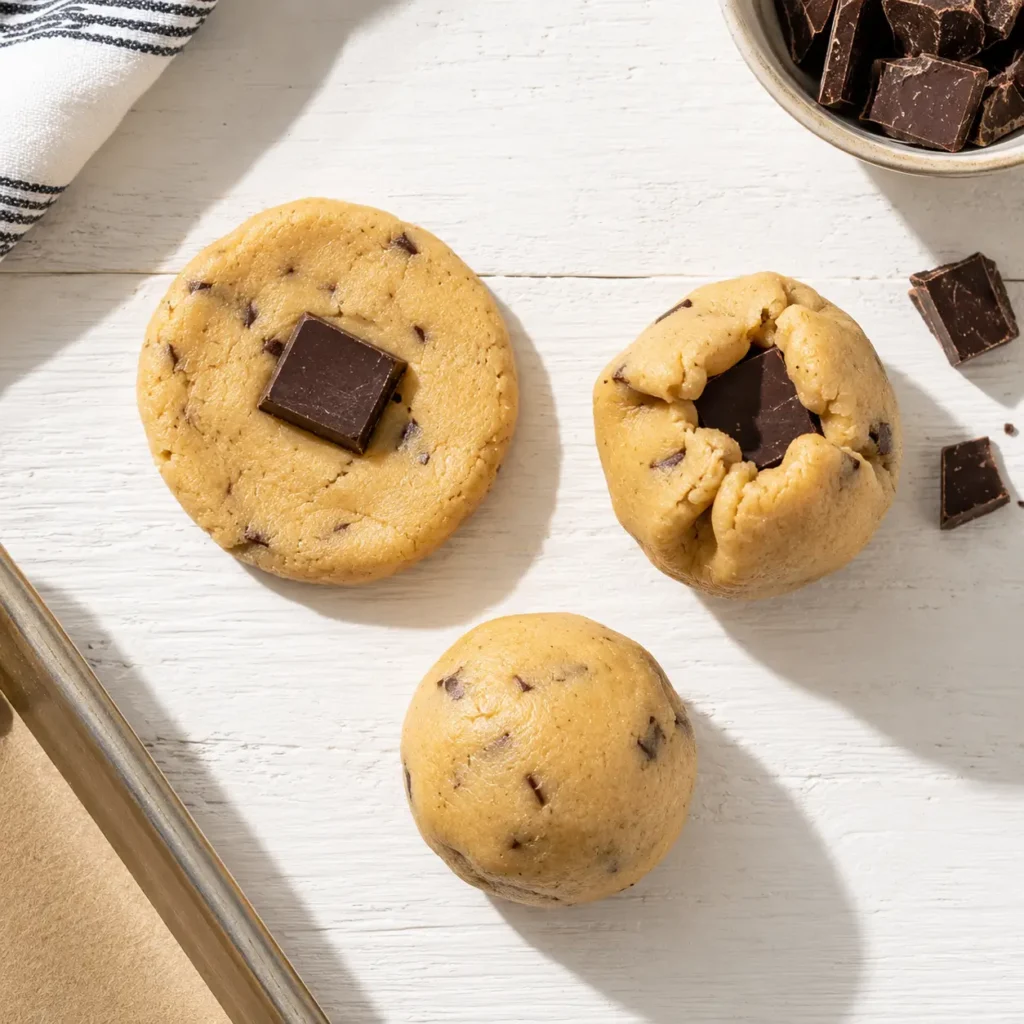
Now, flatten one dough portion in your palm until it’s about 1/8-inch thick. Place a few chocolate chunks in the center—and this is crucial—not too many. You want enough chocolate to feel that ooey gooey texture, but not so much that it bursts through the dough. I typically use about 1/2 teaspoon of chocolate pieces per cookie. If the chocolate escapes while baking, you’ve added too much.
Gently fold the dough around the chocolate, sealing the edges completely. Roll it between your palms to create a smooth ball. This sealing step is genuinely important. Any cracks or openings where you can see the chocolate will cause it to leak during baking.
Baking to Perfection
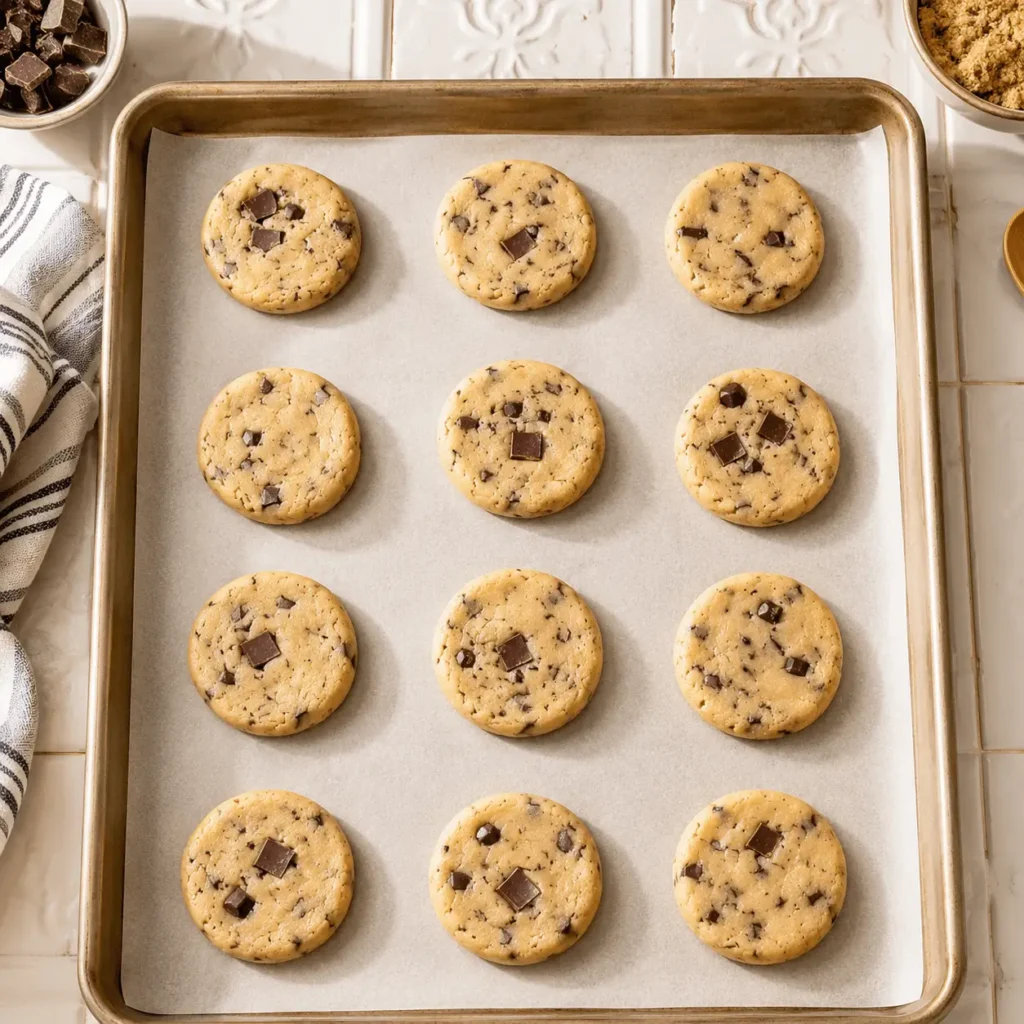
Preheat your oven to 350°F (175°C). Line your baking sheets with parchment paper or silicone mats. Slightly flatten each dough ball—you want them about 1 inch thick, not completely flat but not perfectly round either.
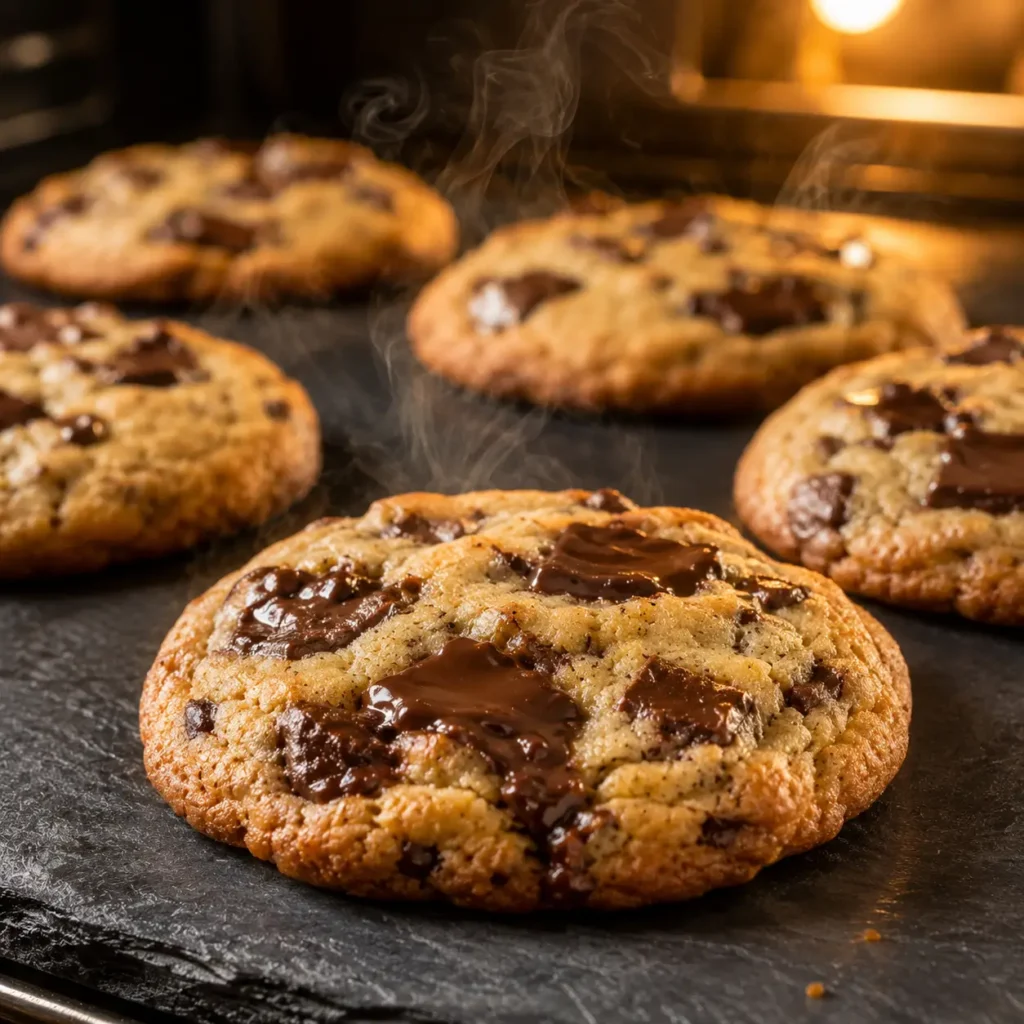
Bake for 11 to 13 minutes. The cookies should be light golden on the edges but still pale in the center. This is the critical part. If you bake them too long, the chocolate hardens and loses that melted-center magic. The cookies continue to set for a minute after you pull them out, so don’t wait for them to look fully done in the oven.
Let them cool on the baking sheet for 2 minutes—seriously, don’t skip this. They’re fragile when hot. Then transfer them to a wire rack to cool completely. The chocolate will set as they cool, giving you that perfect combination of textures.
Pro Tips from Eight Years of Cookie Baking
Tip 1: Chill Your Dough Before Shaping. After mixing, refrigerate your dough for at least 30 minutes. Warm dough is sticky and harder to work with, especially when you’re sealing those chocolate-filled centers. Cold dough is more forgiving, and you’ll have better control over your filling. I learned this the hard way after my kitchen turned into a chocolate mess one summer afternoon.
Tip 2: Use Room-Temperature Butte.r This sounds obvious, but so many people either use cold butter straight from the fridge or melted butter. Neither gives you that perfect creaming texture. Soft butter means a lighter, airier cookie. Take your butter out 20 minutes before you start baking.
Tip 3: Don’t Skip the Cooling Time on the Baking Sheet. et I know it’s tempting to move those hot cookies immediately, but those 2 minutes are essential. The cookies set just enough to handle without breaking apart, and the chocolate reaches that perfect melted-but-still-contained consistency. Plus, trying to move them too early is how cookies crack and chocolate escapes. I’ve made that mistake more than I’d like to admit.
Bonus Insight: If your kitchen is particularly warm, chill your cookie dough portions even after dividing them. Just pop them on a baking sheet in the fridge for 15 minutes before baking. In summer or warm climates, this really makes a difference in keeping that chocolate exactly where it needs to be.
Creative Variations to Try
Once you’ve mastered the basic chocolate-filled cookie, the possibilities expand. Want to make versions that feel totally different? Here are some things to make:
Dark Chocolate Espresso Version: Add 1 tablespoon of instant espresso powder to your dry ingredients. Use dark chocolate for filling and sprinkle just a tiny bit of sea salt on top of each cookie before baking. The bitterness of the espresso plays beautifully against the rich chocolate center.
White Chocolate and Raspberry: Keep your dough the same, but swap your filling chocolate for white chocolate. Roll each ball lightly in freeze-dried raspberry powder before baking. It adds a subtle tartness and beautiful color.
Salted Caramel Chocolate Hybrid: Place one chocolate chunk and one soft caramel piece in the center of each cookie. This is indulgent, but it’s a great example of food you can make that feels restaurant-quality with minimal extra effort.
Mint Chocolate Version: Add 1/2 teaspoon of peppermint extract to your dough (reduce vanilla to 1/2 teaspoon). Use dark chocolate for filling, or mix dark and white chocolate chunks. The mint-chocolate combination is classic for a reason.
The variations are honestly endless. You can play with different chocolate types, add extracts, change your sugar ratio slightly, or even use cookie dough as a base for totally different cookies to make at home.
Troubleshooting Common Problems
Problem: Chocolate leaks out during baking
This happens when you’ve added too much chocolate or haven’t sealed the dough completely around it. Solution: Use less chocolate per cookie (you really only need 1/2 teaspoon), and make sure you’ve pressed the dough edges together firmly. If you see even a tiny gap where chocolate peeks through, that’s where it’ll escape.
Problem: The chocolate center stays hard and doesn’t melt
You’re likely using chocolate chunks that are too large, or your cookies aren’t baking long enough. Solution: Chop your chocolate into small pieces, and don’t underbake. Those 11-13 minutes matter. The cookies should have light golden edges.
Problem: Cookies spread too much and flatten out
Your dough was too warm, or you forgot to chill it. Solution: Chill your dough before shaping, and make sure your butter is at room temperature, not melted. If your kitchen is hot, refrigerate your portioned dough for 15 minutes before baking.
Problem: Cookies are too cakey or dry
You probably overworked the dough or included too much flour. Solution: Mix the dry ingredients into the wet just until combined—don’t overmix. Also, spoon your flour into measuring cups and level it off rather than scooping directly from the bag, which compacts the flour.
Storage and Serving Ideas
These chocolate-filled cookies stay fresh for about 4 days in an airtight container at room temperature. The cookies soften slightly as they sit, which actually enhances that melted-chocolate-center experience.
For longer storage, freeze them. Layer them between parchment paper in a freezer container, and they’ll keep for up to 2 months. You can eat them straight from the freezer—kind of nice on a hot day, honestly—or let them come to room temperature for about 20 minutes.
If you want to refresh slightly stale cookies, warm them in a 300°F oven for 3-4 minutes. This reactivates that melted chocolate center and makes them taste practically fresh-baked again.
As for serving, these are fantastic alongside coffee or tea. They’re also perfect as sweet things to make at home when you need quick and easy treats to bring somewhere. I often make a double batch for potlucks—people always come back asking for more. Pack them in a nice box or wrap with twine, and they look like bakery-quality gifts.
Frequently Asked Questions
Q: Can I use milk chocolate instead of semi-sweet?
A: Absolutely. Milk chocolate will be sweeter and creamier. Dark chocolate gives a more sophisticated, slightly bitter edge that some people prefer. Experiment and see what your taste buds love.
Q: What if I don’t have an electric mixer?
A: You can cream the butter and sugar by hand with a wooden spoon—it just takes longer, maybe 5-7 minutes. Your arm will get a workout, but the result is the same. Sometimes the old-school methods are worth the effort.
Q: Can I make these cookies ahead of time for an event?
A: Yes. Bake them up to 3 days ahead, store in an airtight container, and refresh them in a 300°F oven for a few minutes before serving. They’ll taste like you just made them.
Q: Is there a way to prevent the chocolate from leaking if I’m a nervous baker?
A: Use less chocolate than you think you need, seal the dough incredibly well, and don’t underbake. Also, parchment paper helps prevent sticking and lets you see if anything’s leaking from underneath. You’ve got this.
Q: Can I use chocolate chips instead of chopped chocolate?
A: You can, but they tend to hold their shape better than chopped chocolate, so you might not get that ooey-gooey melted center. Chopped chocolate melts more completely, which is what you’re after here.
Q: How do I know when the cookies are perfectly done?
A: Look for light golden edges with a pale center. They should still feel slightly soft when you touch them. They continue to bake from residual heat, so pull them out just before they look completely done.
Q: What’s the best way to gift these cookies?
A: Stack them in a small glass jar with parchment between layers, or wrap them individually in wax paper and place them in a decorated box. Homemade cookies always make better gifts than store-bought, and chocolate-filled ones feel extra special.
There you have it—everything you need to make chocolate-filled cookies that taste like they came from a professional bakery, made right there in your own kitchen. The texture, the surprise of that melted chocolate center, the way people’s faces light up when they take that first bite—that’s what makes these cookies worth the small effort it takes to create them.
The thing I love most about baking is that it’s actually simpler than people think. You follow a few key steps, pay attention to timing, and you get incredible results. Chocolate-filled cookies are a perfect example. They look impressive, taste sophisticated, but honestly? They’re totally manageable for any home baker.
Now I want to know: what’s your favorite flavor combination when it comes to chocolate treats? Would you stick with the classic semi-sweet chocolate, or are you tempted by one of these variations I mentioned? Drop a comment below—I genuinely love hearing what people plan to bake and create in their kitchens.

Chocolate-Filled Cookies
Ingredients
Equipment
Method
- Cream together the softened butter, granulated sugar, and brown sugar until light, fluffy, and almost pale, about 3 minutes with an electric mixer.
- Add the egg and vanilla extract. Mix for another minute, until smooth, glossy, and well combined.
- In a separate bowl, whisk together the all-purpose flour, baking powder, and salt.
- Fold the dry ingredients into the wet ingredients and mix just until the dough comes together. Do not overmix.
- Refrigerate the dough for at least 30 minutes so it is easier to handle and seal around the chocolate filling.
- Divide the chilled dough into 24 equal portions, using a cookie scoop or tablespoon measure if helpful.
- Flatten one dough portion in your palm until it is about 1/8-inch thick. Place about 1/2 teaspoon of chopped chocolate in the center.
- Gently fold the dough around the chocolate, sealing the edges completely. Roll between your palms to create a smooth ball with no visible cracks.
- Preheat the oven to 350°F (175°C). Line baking sheets with parchment paper or silicone mats.
- Place the filled dough balls on the prepared baking sheets and slightly flatten each one until about 1 inch thick.
- Bake for 11 to 13 minutes, until the edges are light golden and the centers are still pale.
- Let the cookies cool on the baking sheet for 2 minutes, then transfer them to a wire rack to cool completely.